Application
Application
| 2014-2017 | Hyundai | Veloster |
What you need to know (please read before ordering)
What you need to know (please read before ordering)
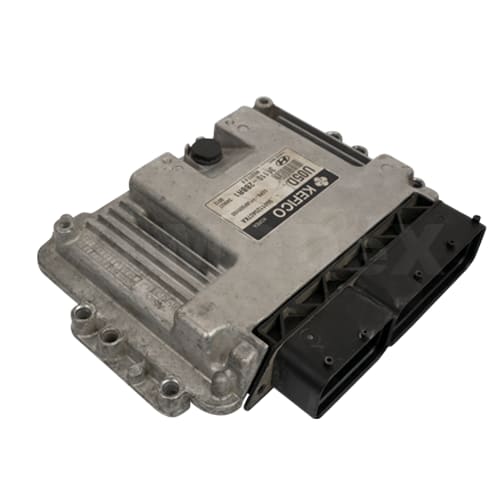
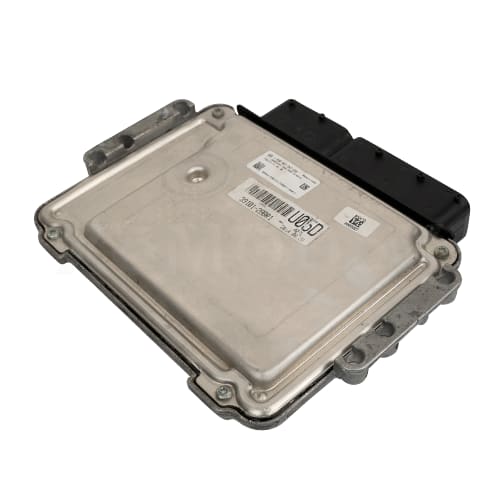
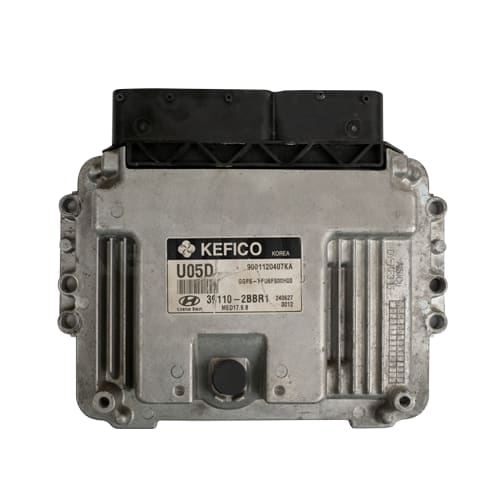
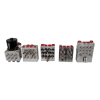
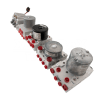
This is a Repair Service of your existing ECM Control Module or PCM Powertrain Control Module. You will need to remove and send your module to us for repair, using the shipping labels provided to you.
The order will be processed during our regular business hours (Mon-Fri 8:30 – 5:00 EST). After processing your order, we will email shipping labels and shipping instructions. If you do not see shipping labels within 1 hour of submitting your order (during business hours) please first check your junk/spam folders. If you still do not see the labels, please contact us at 1-888-712-2525
Features:
Plug & Play: The software and settings will not be modified, making this module plug and play. No software reload or calibration is required after installation.
Quick Turnaround:Your module will be tested, repaired, tested again, and sent back to you in the same day (unless otherwise noted).
Quality Tested: All modules undergo rigorous tests on our specialized custom-built CAN-bus driven test bed. All functions, DTCs, and software are checked and verified for proper operation.
Lifetime Limited Warranty: This module comes with our Lifetime Limited Warranty. Please see here for more information.
Reference Numbers
Reference Numbers
39110-2BBR3 | 39125-2BFK5 | 39131-2BFK5 | 39121-2BFK0 | 39110-2BBR0 | 39110-2BBR1
Common Failure Symptoms
Common Failure Symptoms
• Engine misfires.
• Injector issues.
• Ignition coil issues
• Various other issues
How This Service Works
How This Service Works
Step 1: Purchase our repair service online or over the phone.
Step 2: After processing your order, we will email you pre-paid shipping labels.
Step 3: Send us your old defective unit by dropping off the package to any UPS location, or call UPS to schedule a pick up.
Step 4: We will inspect and repair your old module.
Step 5: We will send you back the repaired module the same day (unless otherwise stated).
Step 6: You install the unit back into your vehicle.
For more detailed instructions, please see here.

