Application
Application
| 2005 – 2009 | Volvo | S60 |
| 2005 – 2006 | Volvo | S80 |
| 2005 – 2007 | Volvo | V70 |
| 2005 – 2007 | Volvo | XC70 |
| 2005 – 2014 | Volvo | XC90 |
What you need to know (please read before ordering)
What you need to know (please read before ordering)
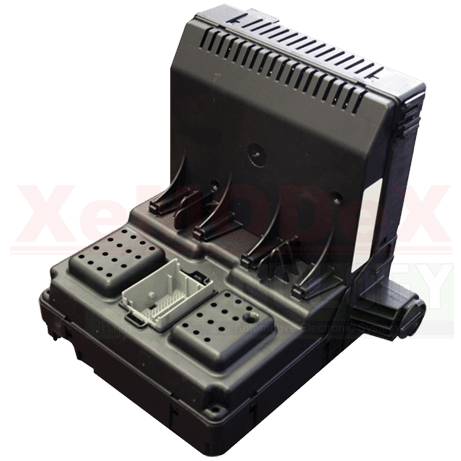
Recommendation: If the casing is replaced during our service the fuses may be in a different configuration when you receive the CEM back. We try to make sure the fuses are correct, but just in case we recommend taking a picture of your original CEM’s fuses prior to sending it in. When you receive the CEM back, compare the fuses to make sure all fuses are in the correct locations.
This is a Program Transfer Service of your original module to a good unit you’ve supplied. You will need to source out a good used matching unit, then send them both in here for the service. Only the good unit will be shipped back to you. The original module is recycled here at our facility.
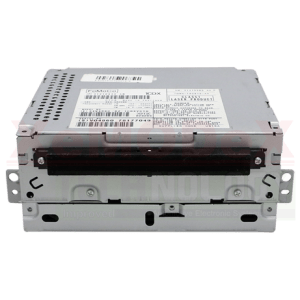
To ensure a matching unit, match up the module’s Hardware Part Number (HW-PN). See the pictures for an example.
The order will be processed during our regular business hours (Mon-Fri 8:30 – 5:00 EST). After processing your order, we will email shipping labels and shipping instructions. If you don’t see shipping labels within 1 hour of submitting your order (during business hours) please first check your junk/spam folders. If you still don’t see the labels, please contact us at 1-888-712-2525
Features:
Plug & Play: The programming from the original unit is moved over to the good used unit one for one, which means the module sent back to you is plug and play. No software reload or calibration is required. Please note in some very rare cases of software corruption there may be need for a software reload. We see this in less than 1 percent of all modules sent in.
Quick Turnaround: Your module will be tested, cloned, tested again, and the good unit sent back to you in the same day (unless otherwise noted).
Quality Tested: All our Volvo CEMs undergo rigorous tests on our specialized custom built CAN-bus driven test bed. All functions, DTCs, and software are checked and verified for proper operation.
Lifetime Limited Warranty on the Software Transfer: This module comes with our Lifetime Limited Warranty on the Software Transfer. Please see here for more information.
Reference Numbers
Reference Numbers
30682981 | 30682982 | 30728357 | 30728539 | 30728542 | 30759114 | 30765148 | 30765149 | 30765643 | 30765646 | 30765646 | 30786475 | 30786476 | 30786889 | 30786890 | 30795115 | 31282455 | 31282457 | 31314468 | 31394157
Common Failure Symptoms
Common Failure Symptoms
Common Failures:
• Water damage
• Complete loss of communication where the CEM will not communication with the rest of the network and the diagnostic tool.
• No LIN communication with alternator (ACM)
• Starter motor not working even though start is approved by the immobilizer sequence.
• Turn signals not working are all or one side turned on continuously.
• Low beams, high beams or fog lights failures.
• Horn not working at all.
• Wipers not working at all or stuck in high speed.
• Fuel pump not engaging.
Common Immobilizer Failures:
In order for us to properly diagnose any immobilizer failures you would need to send us your CEM, ECM, and at least one key.
If VIDA diagnostic tool shows zero keys stored, the CEM has lost it’s key programming. This is due to a faulty CEM. If you’re able to program keys into it again, chances are it won’t last long. To fully rectify the problem, we’d need to perform a CEM program transfer and then reload the keys. Additional costs may apply.
How This Service Works
How This Service Works
Step 1: Purchase a good used unit with matching part number from a local scrap yard.
Step 2: Purchase our service online or over the phone.
Step 3: After processing your order, we will email you pre-paid shipping labels.
Step 4: Send us your old defective unit by dropping off the package to any UPS location, or call UPS to schedule a pick up.
Step 5: We will extract the software from the old unit, and program the good used unit with the extracted software.
Step 6:We will send you back the good module the same day (unless otherwise stated), and recycle your old defective unit at our facility.
Step 7: You install the unit back into your vehicle.
For more detailed instructions, please see here.
FAQ
FAQ
Do you know where I can source a matching module?
A good source for used Volvo parts is Erie Vo-vo Inc if you’re on the East coast, and Volvo and Saab Dismantlers if on the West coast.
The scrap yard doesn’t have my module’s part number in stock, but they carry a similar module with a different part number. Can I send you that one?
No. The software in your module is hardware specific. The good used module must have a matching part number, or else we cannot perform this service.
Why don’t you send my original module back to me?
In order to extract the software, we have to do some hardware modifications to your original module. This process is irreversible and damages the module permanently. Your unit will be recycled at our facility.
Why is there no Lifetime Warranty on Cloned units?
We offer a Lifetime Warranty on the Software only. We also test your used module before and after the transfer to make sure it is fully operational. Since it is a used part that you purchased elsewhere and we did not repair or recondition it, we do not extend the warranty to the hardware. Check with your scrap yard for their warranty terms on your module.
How long does it take for you to clone my module?
We have same day turnaround. This means that this service will be performed and the module shipped back out the same day we receive it.


